• Global CNC market projected to reach $128B by 2028 • New EU trade regulations for precision tooling components • Aerospace deman
NYSE: CNC +1.2%LME: STEEL -0.4%

Automated Production Line Troubleshooting: 8 Common Faults and How to Fix Them
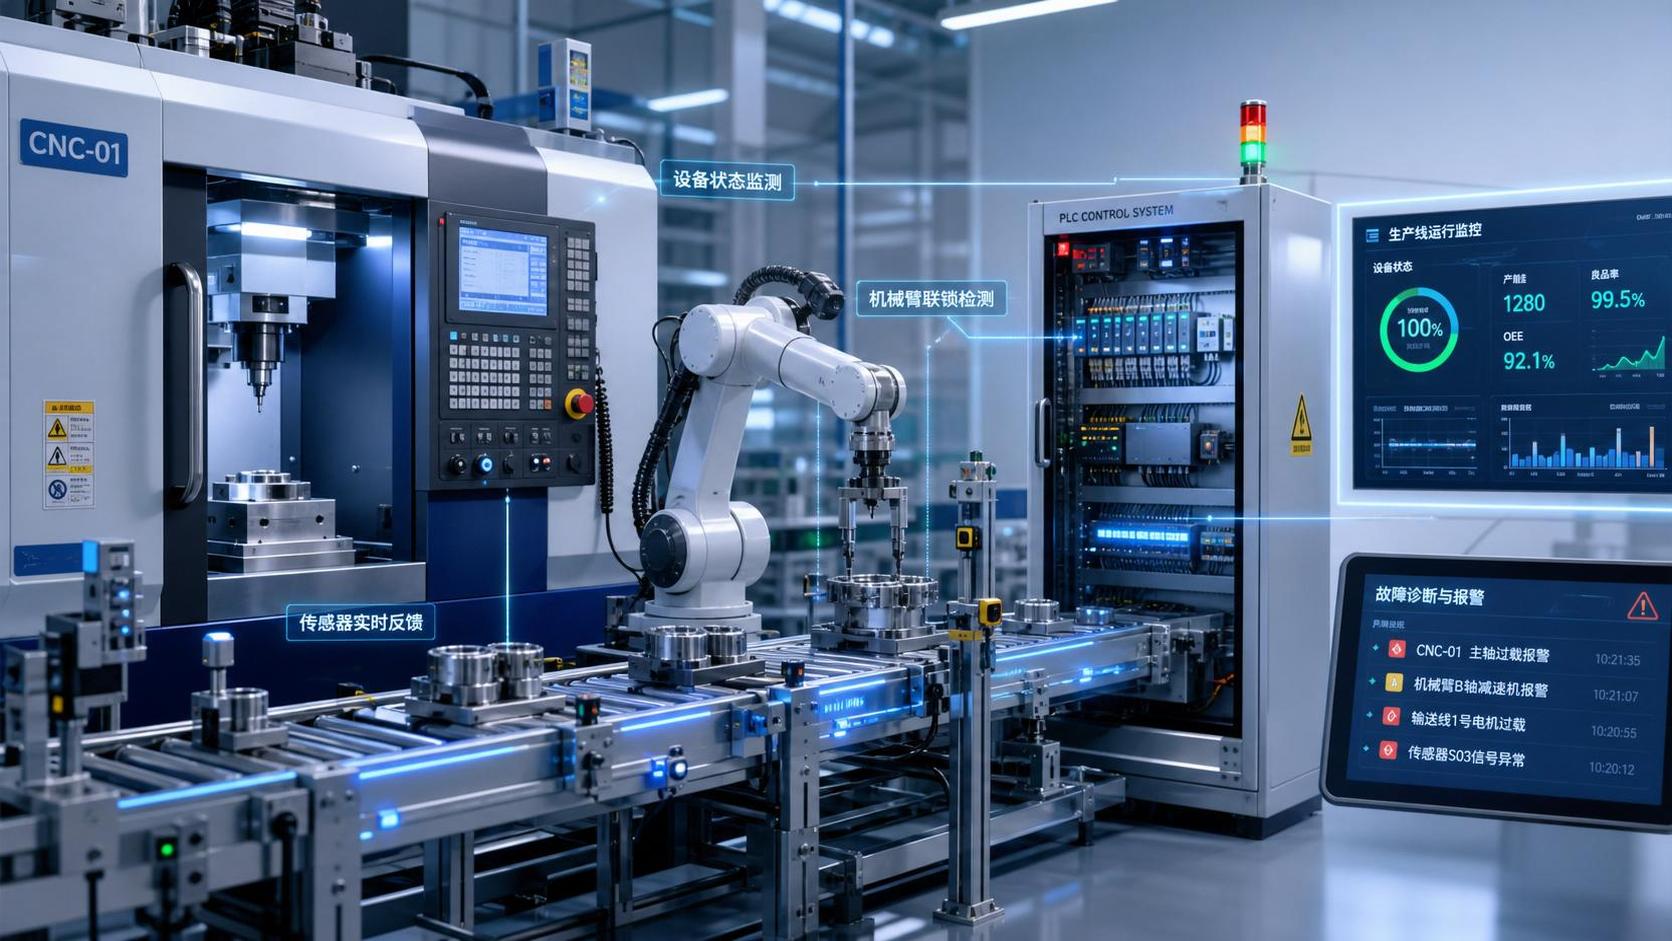
Automated Production Line Troubleshooting Starts with a Fast, Structured Check
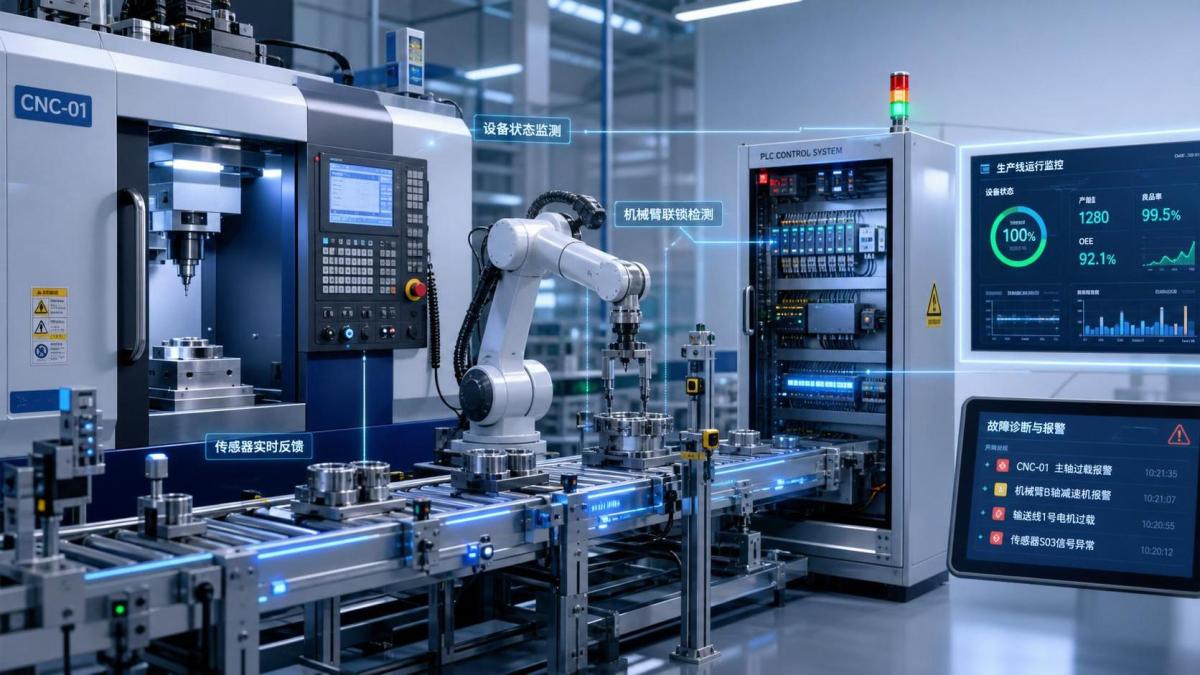
Automated Production Line troubleshooting is rarely about one broken part alone.
In CNC workshops, faults often spread across sensors, drives, PLC logic, conveyors, and robot interfaces.
That is why good troubleshooting starts with sequence, not guesswork.
A stable routine helps isolate root causes faster and avoids replacing healthy components.
In actual production, the best results come from checking alarms, machine status, signal flow, and recent changes together.
This matters even more on integrated lines with CNC lathes, machining centers, robots, and automated transfer systems.
When one station stops, upstream and downstream equipment usually react within seconds.
Effective Automated Production Line troubleshooting should answer three questions first.
- What failed first?
- Which interlock stopped the sequence?
- Did anything change before the fault appeared?
Once those answers are clear, fault handling becomes much more practical.
1. Sensor Failure or False Trigger
Sensors are among the most common sources of Automated Production Line troubleshooting cases.
A failed proximity switch or dirty photoelectric sensor can stop a full line.
Typical signs
- Part present alarm without a part
- Cylinder will not extend or retract
- Conveyor pauses at the same position
How to fix it
First, check the sensor LED and input signal on the PLC screen.
Then inspect cable damage, loose connectors, oil mist, metal chips, or misalignment.
If the signal flickers, test the sensor bracket for vibration.
For recurring faults, verify sensing distance and target position against the original setup.
2. Conveyor Jam or Material Transfer Blockage
Material transfer problems are another major area in Automated Production Line troubleshooting.
A conveyor jam often starts as a small positioning issue and becomes a line stop.
Common causes
- Skewed workpieces or oversized parts
- Worn guides or damaged rollers
- Air cylinder timing mismatch at stop gates
How to fix it
Clear the jam only after confirming lockout and stored energy release.
After that, inspect guides, stopper height, chain tension, and pneumatic timing.
If the fault repeats, review whether part dimensions changed after a tooling adjustment.
This is a frequent hidden cause in Automated Production Line troubleshooting on mixed-product lines.
3. PLC Communication Error
Communication loss can disable the whole sequence even when every machine is healthy.
This type of Automated Production Line troubleshooting usually affects HMI, remote I/O, robots, or drives.
What to check first
- Network switch power and link lights
- Loose Ethernet or fieldbus connectors
- Duplicate IP or node address conflicts
- Recent program or parameter changes
Intermittent communication faults often come from vibration, moisture, or unstable power quality.
If one station drops offline repeatedly, compare its cycle events with the fault timestamp.
That helps identify whether the issue is physical, logical, or load related.
4. Servo Drive Alarm or Axis Position Error
Axis faults are serious because they affect accuracy, safety, and machine synchronization.
In CNC cells, this form of Automated Production Line troubleshooting often appears after overload or sudden stoppage.
Likely root causes
- Overtravel or mechanical obstruction
- Encoder cable looseness
- Drive overload from poor lubrication
- Incorrect acceleration or gain settings
Start with the exact drive alarm code and axis history.
Then inspect ballscrews, guideways, couplings, lubrication flow, and home sensor condition.
Do not reset and restart blindly.
Repeated resets can hide a mechanical failure until it becomes a costly breakdown.
5. Robot Pick-and-Place Failure
Robot cells add speed, but they also add handshake complexity.
Automated Production Line troubleshooting becomes harder when robot, fixture, and CNC all depend on each other.
Frequent symptoms
- Robot waits for ready signal
- Gripper misses the part
- Part drops during transfer
How to fix it
Check I/O handshake status before reteaching positions.
A missing confirmation signal is often mistaken for a position problem.
Next, inspect gripper pressure, jaw wear, vacuum level, and fixture repeatability.
If picks drift over time, verify base frame stability and end-of-arm tool alignment.
6. Pneumatic Pressure Loss or Slow Actuation
Air problems are easy to overlook because the line may still move, just badly.
In many Automated Production Line troubleshooting cases, unstable pressure causes random sequence failures.
Watch for these signs
- Cylinders stop midway
- Clamp force becomes inconsistent
- Cycle time suddenly increases
Measure pressure at the point of use, not only at the main regulator.
Then inspect filters, lubricators, solenoid valves, silencers, and tubing leaks.
A clogged muffler can slow exhaust enough to disturb timing across the line.
7. Product Quality Drift During Continuous Operation
Not every line problem shows up as a hard stop.
Sometimes Automated Production Line troubleshooting begins with scrap, rework, or unstable dimensions.
Possible reasons
- Tool wear in CNC machining
- Fixture looseness or contamination
- Thermal growth during long cycles
- Incorrect part orientation at transfer
Here, troubleshooting should connect process data with mechanical checks.
Review SPC trends, offset history, clamp condition, and tool life records together.
A small shift at one fixture can affect every downstream measurement.
8. Power Instability and Unexpected Restart
Power quality issues create some of the most confusing Automated Production Line troubleshooting situations.
The line may reboot, lose references, or generate unrelated alarms across several stations.
What usually causes it
- Voltage dips during heavy load switching
- Loose terminals in control cabinets
- Aging power supplies or UPS faults
Check event logs from PLC, CNC, robot controller, and HMI for the same timestamp.
That correlation often reveals whether the issue started from incoming power or local hardware.
Thermal inspection inside cabinets can also expose weak connections before they fail completely.
A Practical Automated Production Line Troubleshooting Routine
A repeatable routine reduces downtime and improves handover quality between shifts.
For daily Automated Production Line troubleshooting, this sequence works well:
- Capture the exact alarm, time, and station.
- Check whether the problem is mechanical, electrical, pneumatic, or logical.
- Compare current status with the last normal cycle.
- Confirm recent changes in tooling, parameters, or product model.
- Test the fix under real cycle conditions, not only in manual mode.
- Record the root cause and corrective action for future cases.
That final step is often skipped, but it has the highest long-term value.
Strong records turn repeated faults into faster, more predictable fixes.
For CNC and precision manufacturing lines, that discipline directly supports uptime, quality, and safer interventions.
When Automated Production Line troubleshooting is handled with structure, the line returns to output faster and with fewer repeat failures.
Recommended for You
 CNC Machine Arrival Inspection: Check Shipping Damage, Accuracy, Safety, and DocumentsCNC Machining Technology Center
 How to Select a Machine Tool for Aerospace Parts with Tight Tolerances?Machine Tool Industry Editorial Team
 How to Select CNC Equipment for High-Mix, Low-Volume ProductionCNC Machining Technology Center
 Can CNC Machining Inconel Control Tool Wear in High-Temperature Aerospace Parts?CNC Machining Technology Center
 Machine Tool Market Outlook: Demand Drivers, Capacity Shifts, and Investment RisksManufacturing Market Research Center
 Zero-Point Clamping or Modular Fixtures? Choosing a Faster CNC Changeover SystemCNC Machining Technology Center

Aris Katos
Future of Carbide Coatings
15+ years in precision manufacturing systems. Specialized in high-speed milling and aerospace grade alloy processing.
▶
Smart Manufacturing for Small Businesses: Where Automation Delivers the Fastest ROIMachine Tool Industry Editorial Team▶
How Smart Manufacturing Technology Improves OEE Across Industry 4.0 Production LinesMachine Tool Industry Editorial Team▶
How to Evaluate an Automation Line for Electronics Production Before InvestmentMachine Tool Industry Editorial Team▶
How to Evaluate an Automated Production Line for Output, Flexibility, and ROIMachine Tool Industry Editorial Team▶
How Smart Manufacturing Improves Traceability and Quality Control in Aerospace?Machine Tool Industry Editorial Team
Mastering 5-Axis Workholding Strategies
Join our technical panel on Nov 15th to learn about reducing vibrations in thin-wall components.

Providing you with integrated sanding solutions
Before-sales and after-sales services
Comprehensive technical support